MALA ŠOLA GLINE -
LITTLE SCHOOL OF CLAY
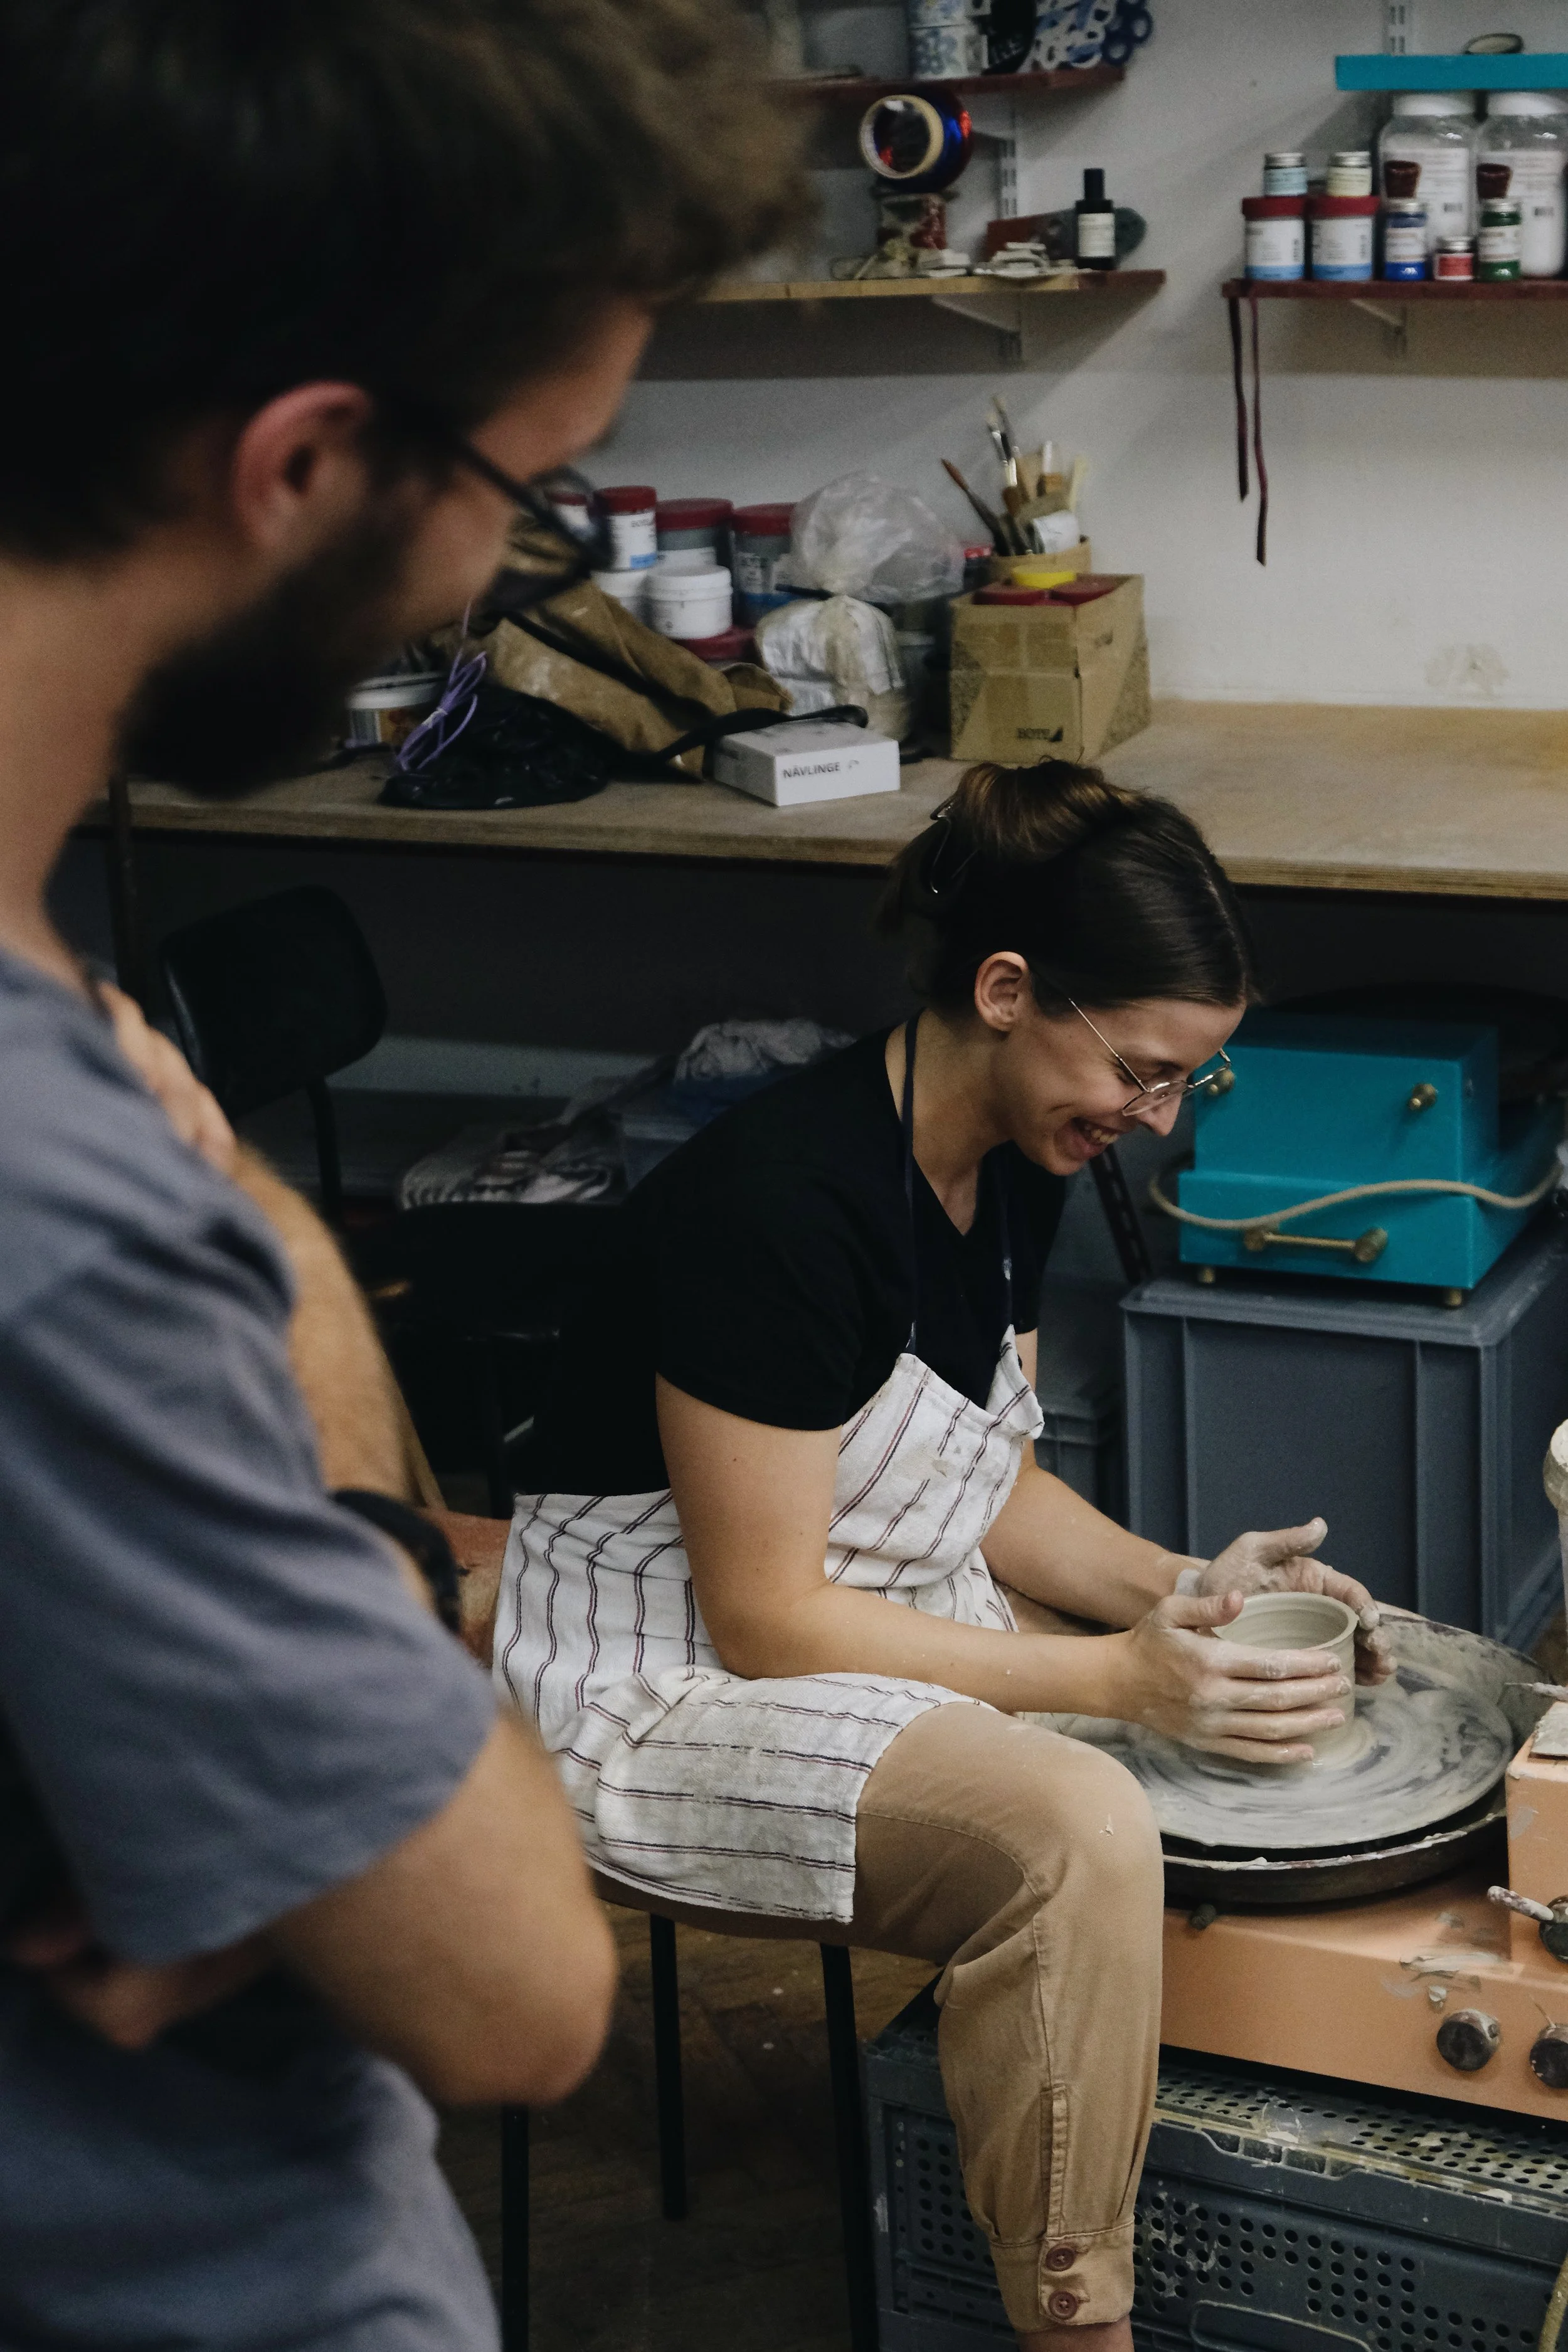
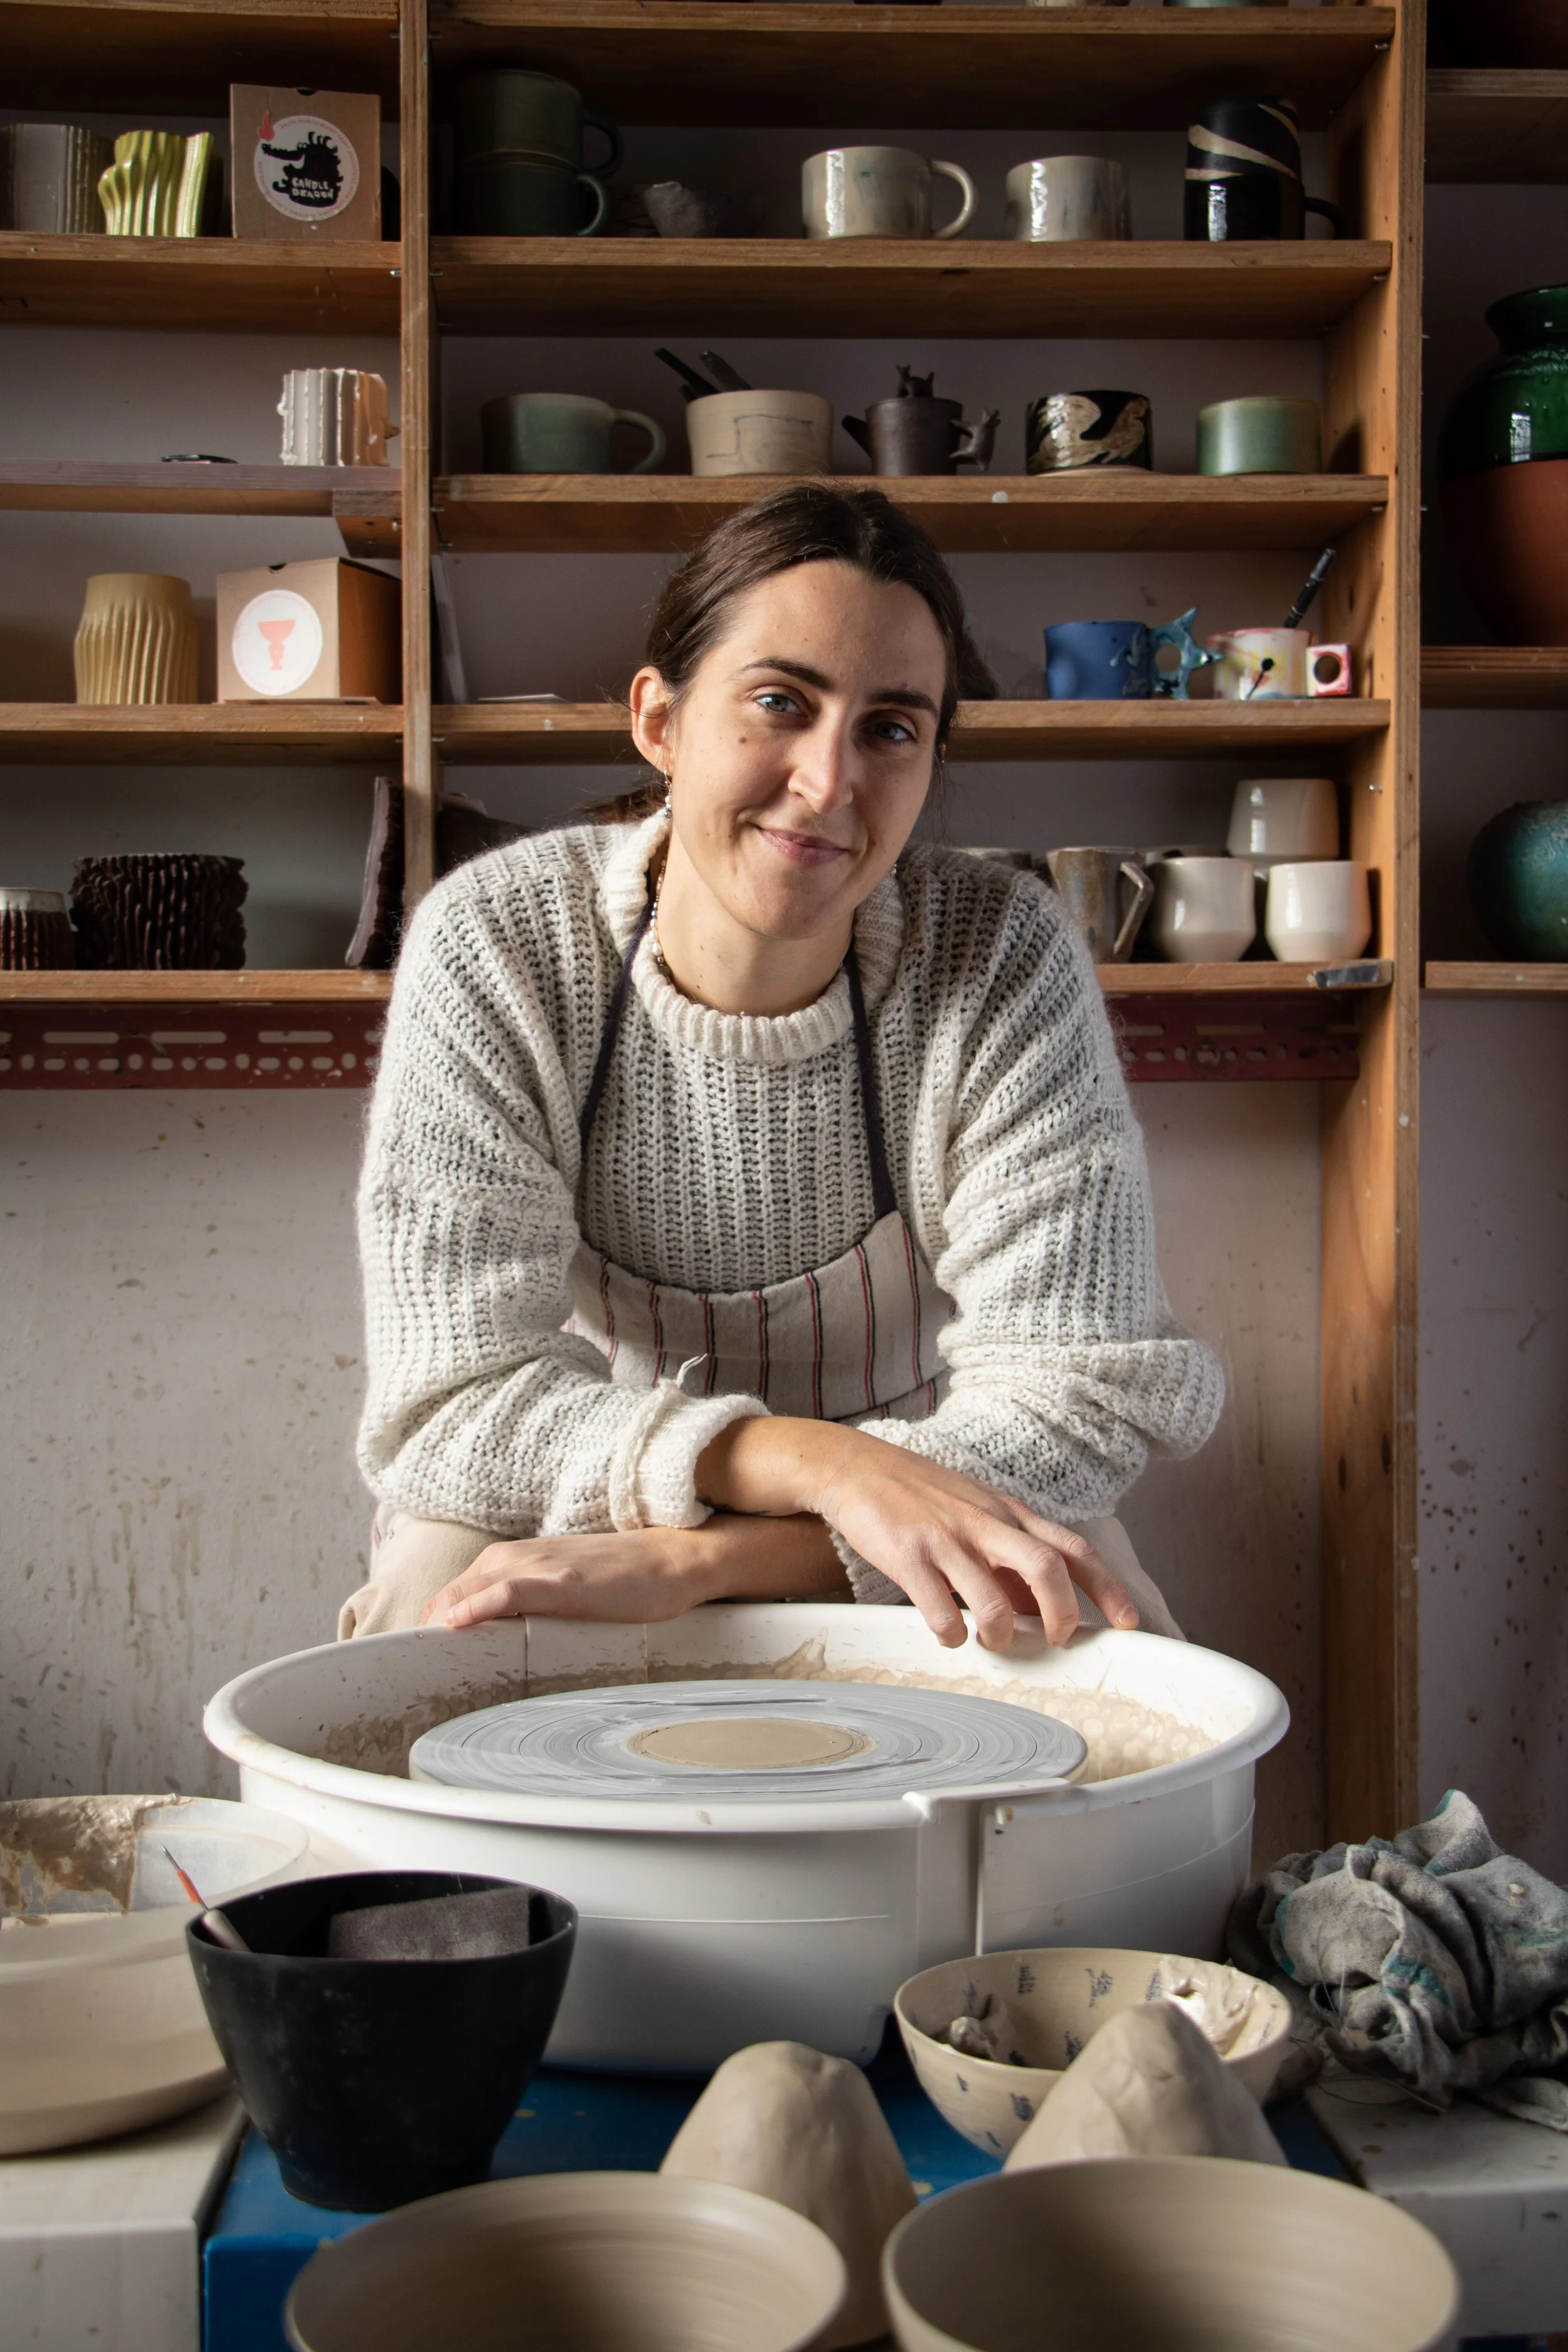
THE LITTLE SCHOOL OF CLAY - Developing a Contemporary Craft Object is an intensive two-month programme exploring clay and the art of throwing on the pottery wheel.
Throughout the programme, we learn the fundamentals of wheel throwing, develop our skills, and explore the wider world of clay through different materials, techniques and approaches to making. With the support of mentors, we gradually develop our ideas into our own contemporary functional objects.
LESSON 1 :
PRACTISE MAKES PERFECT
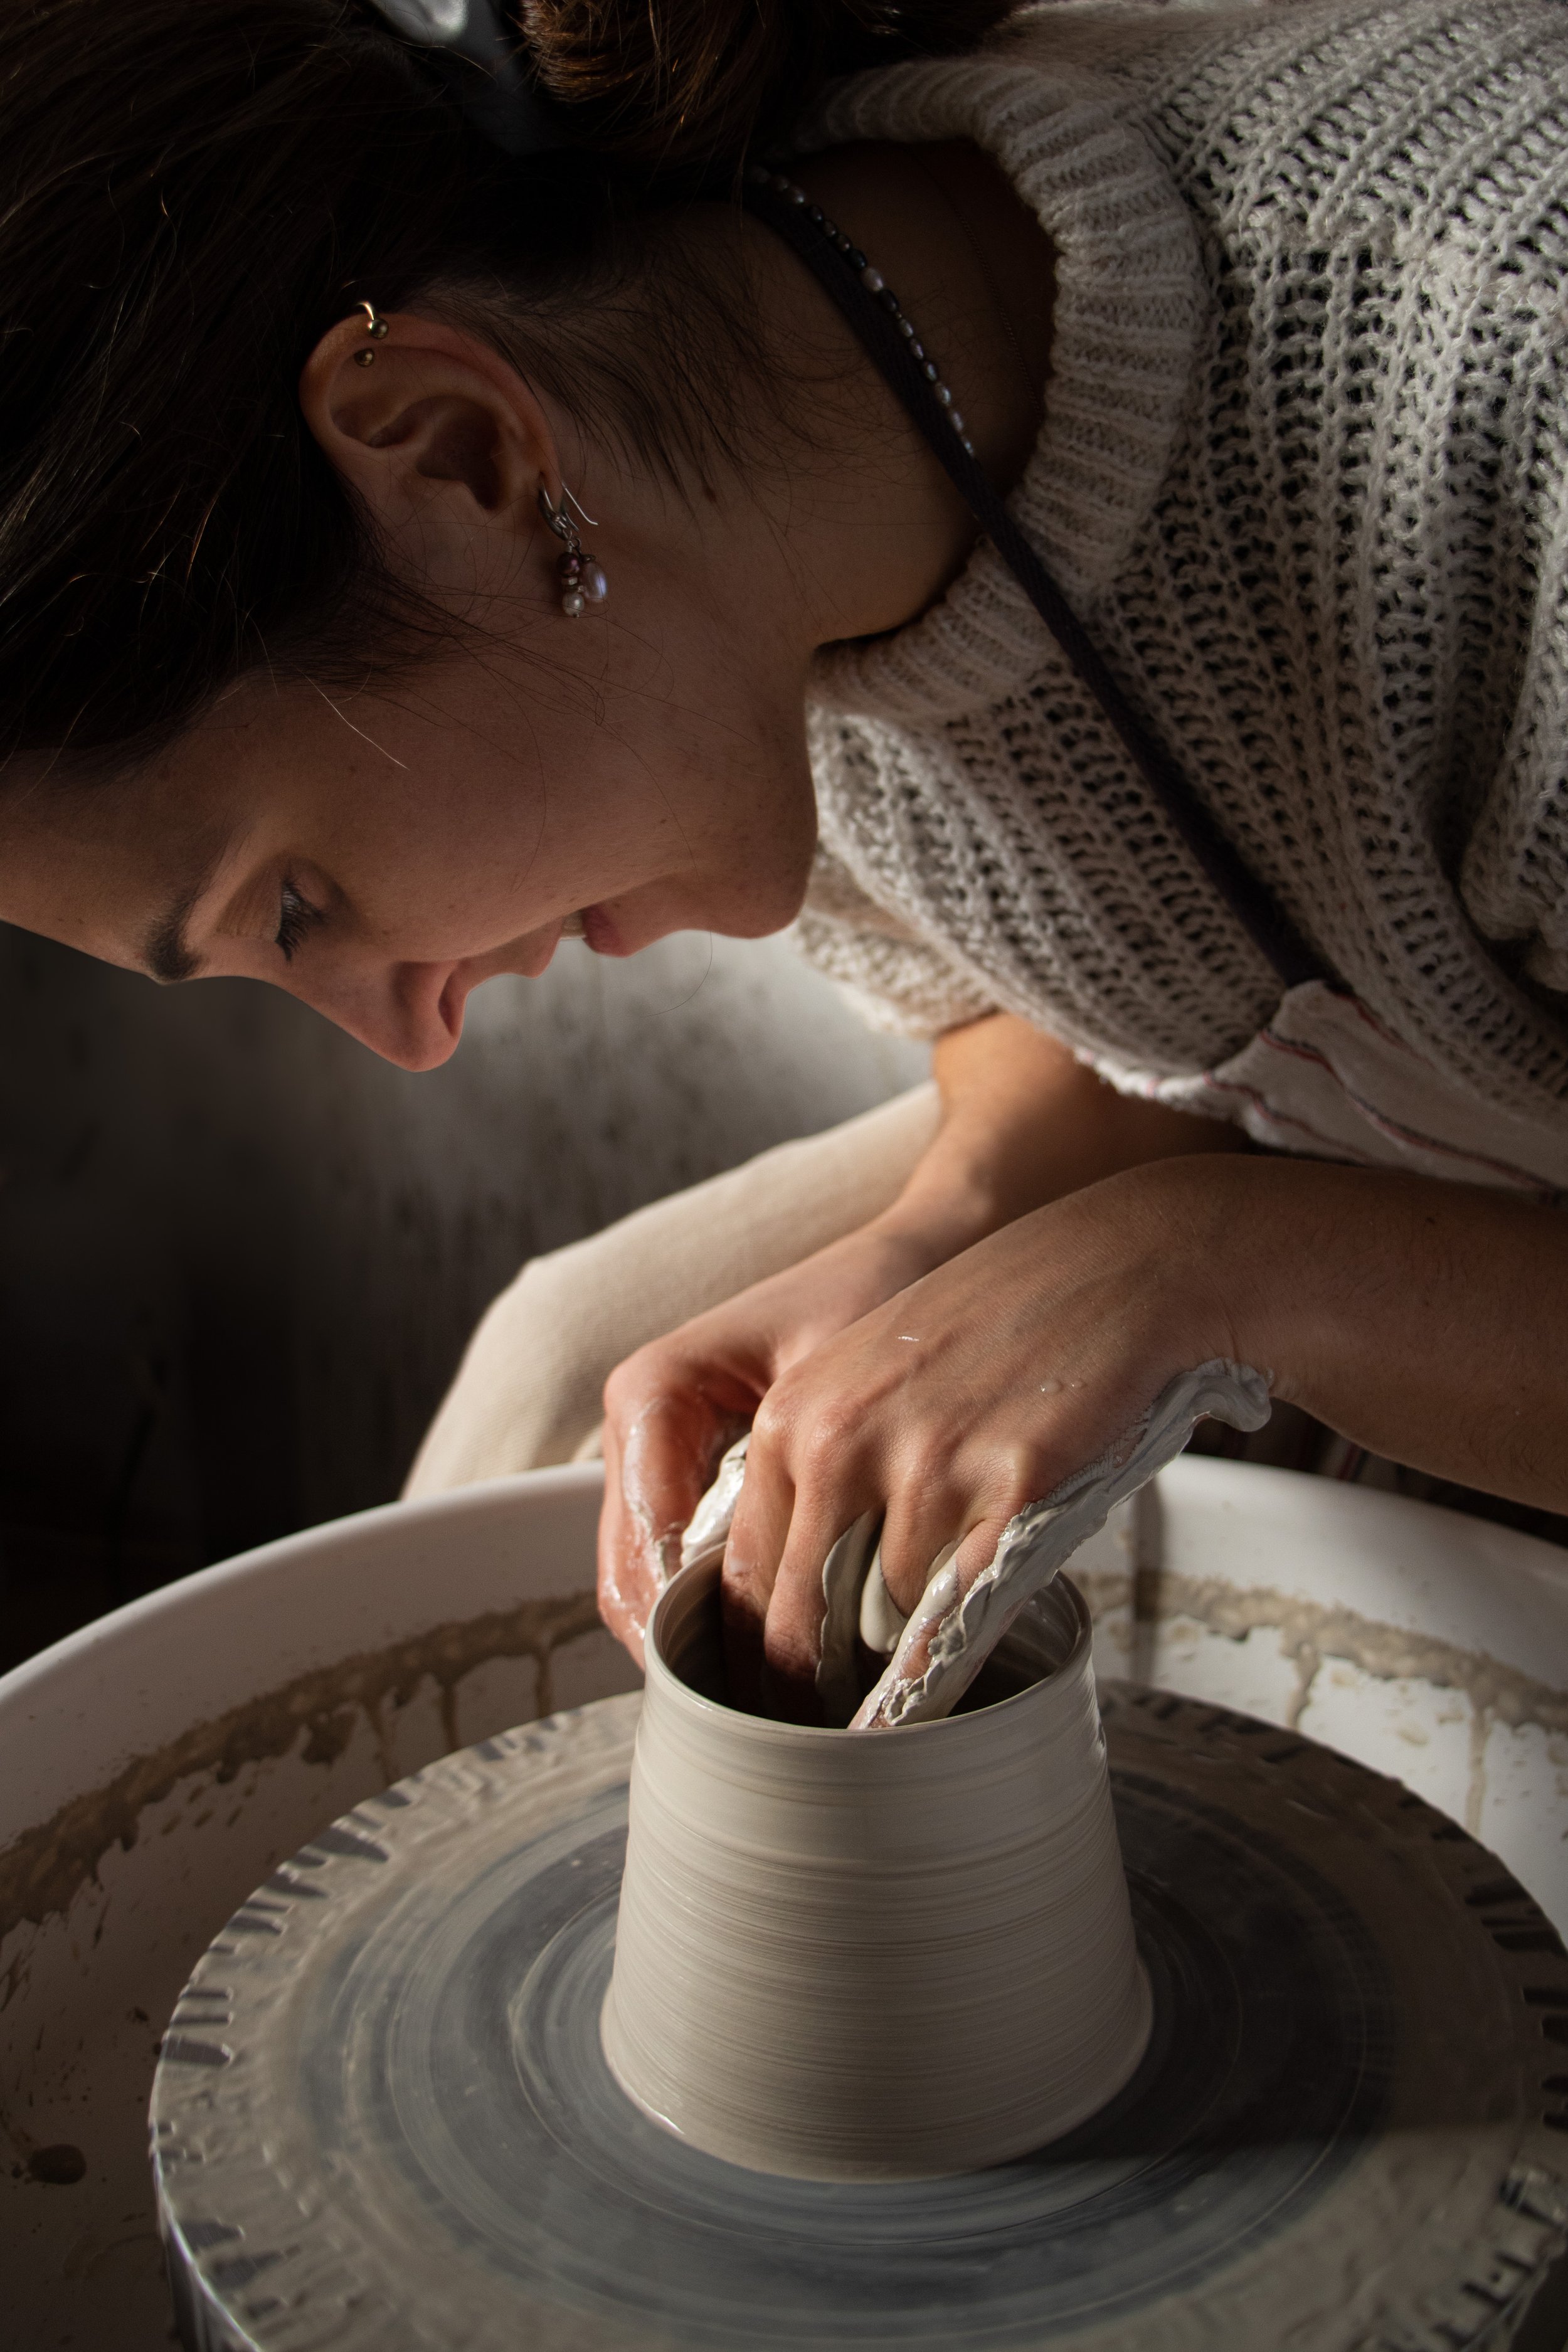
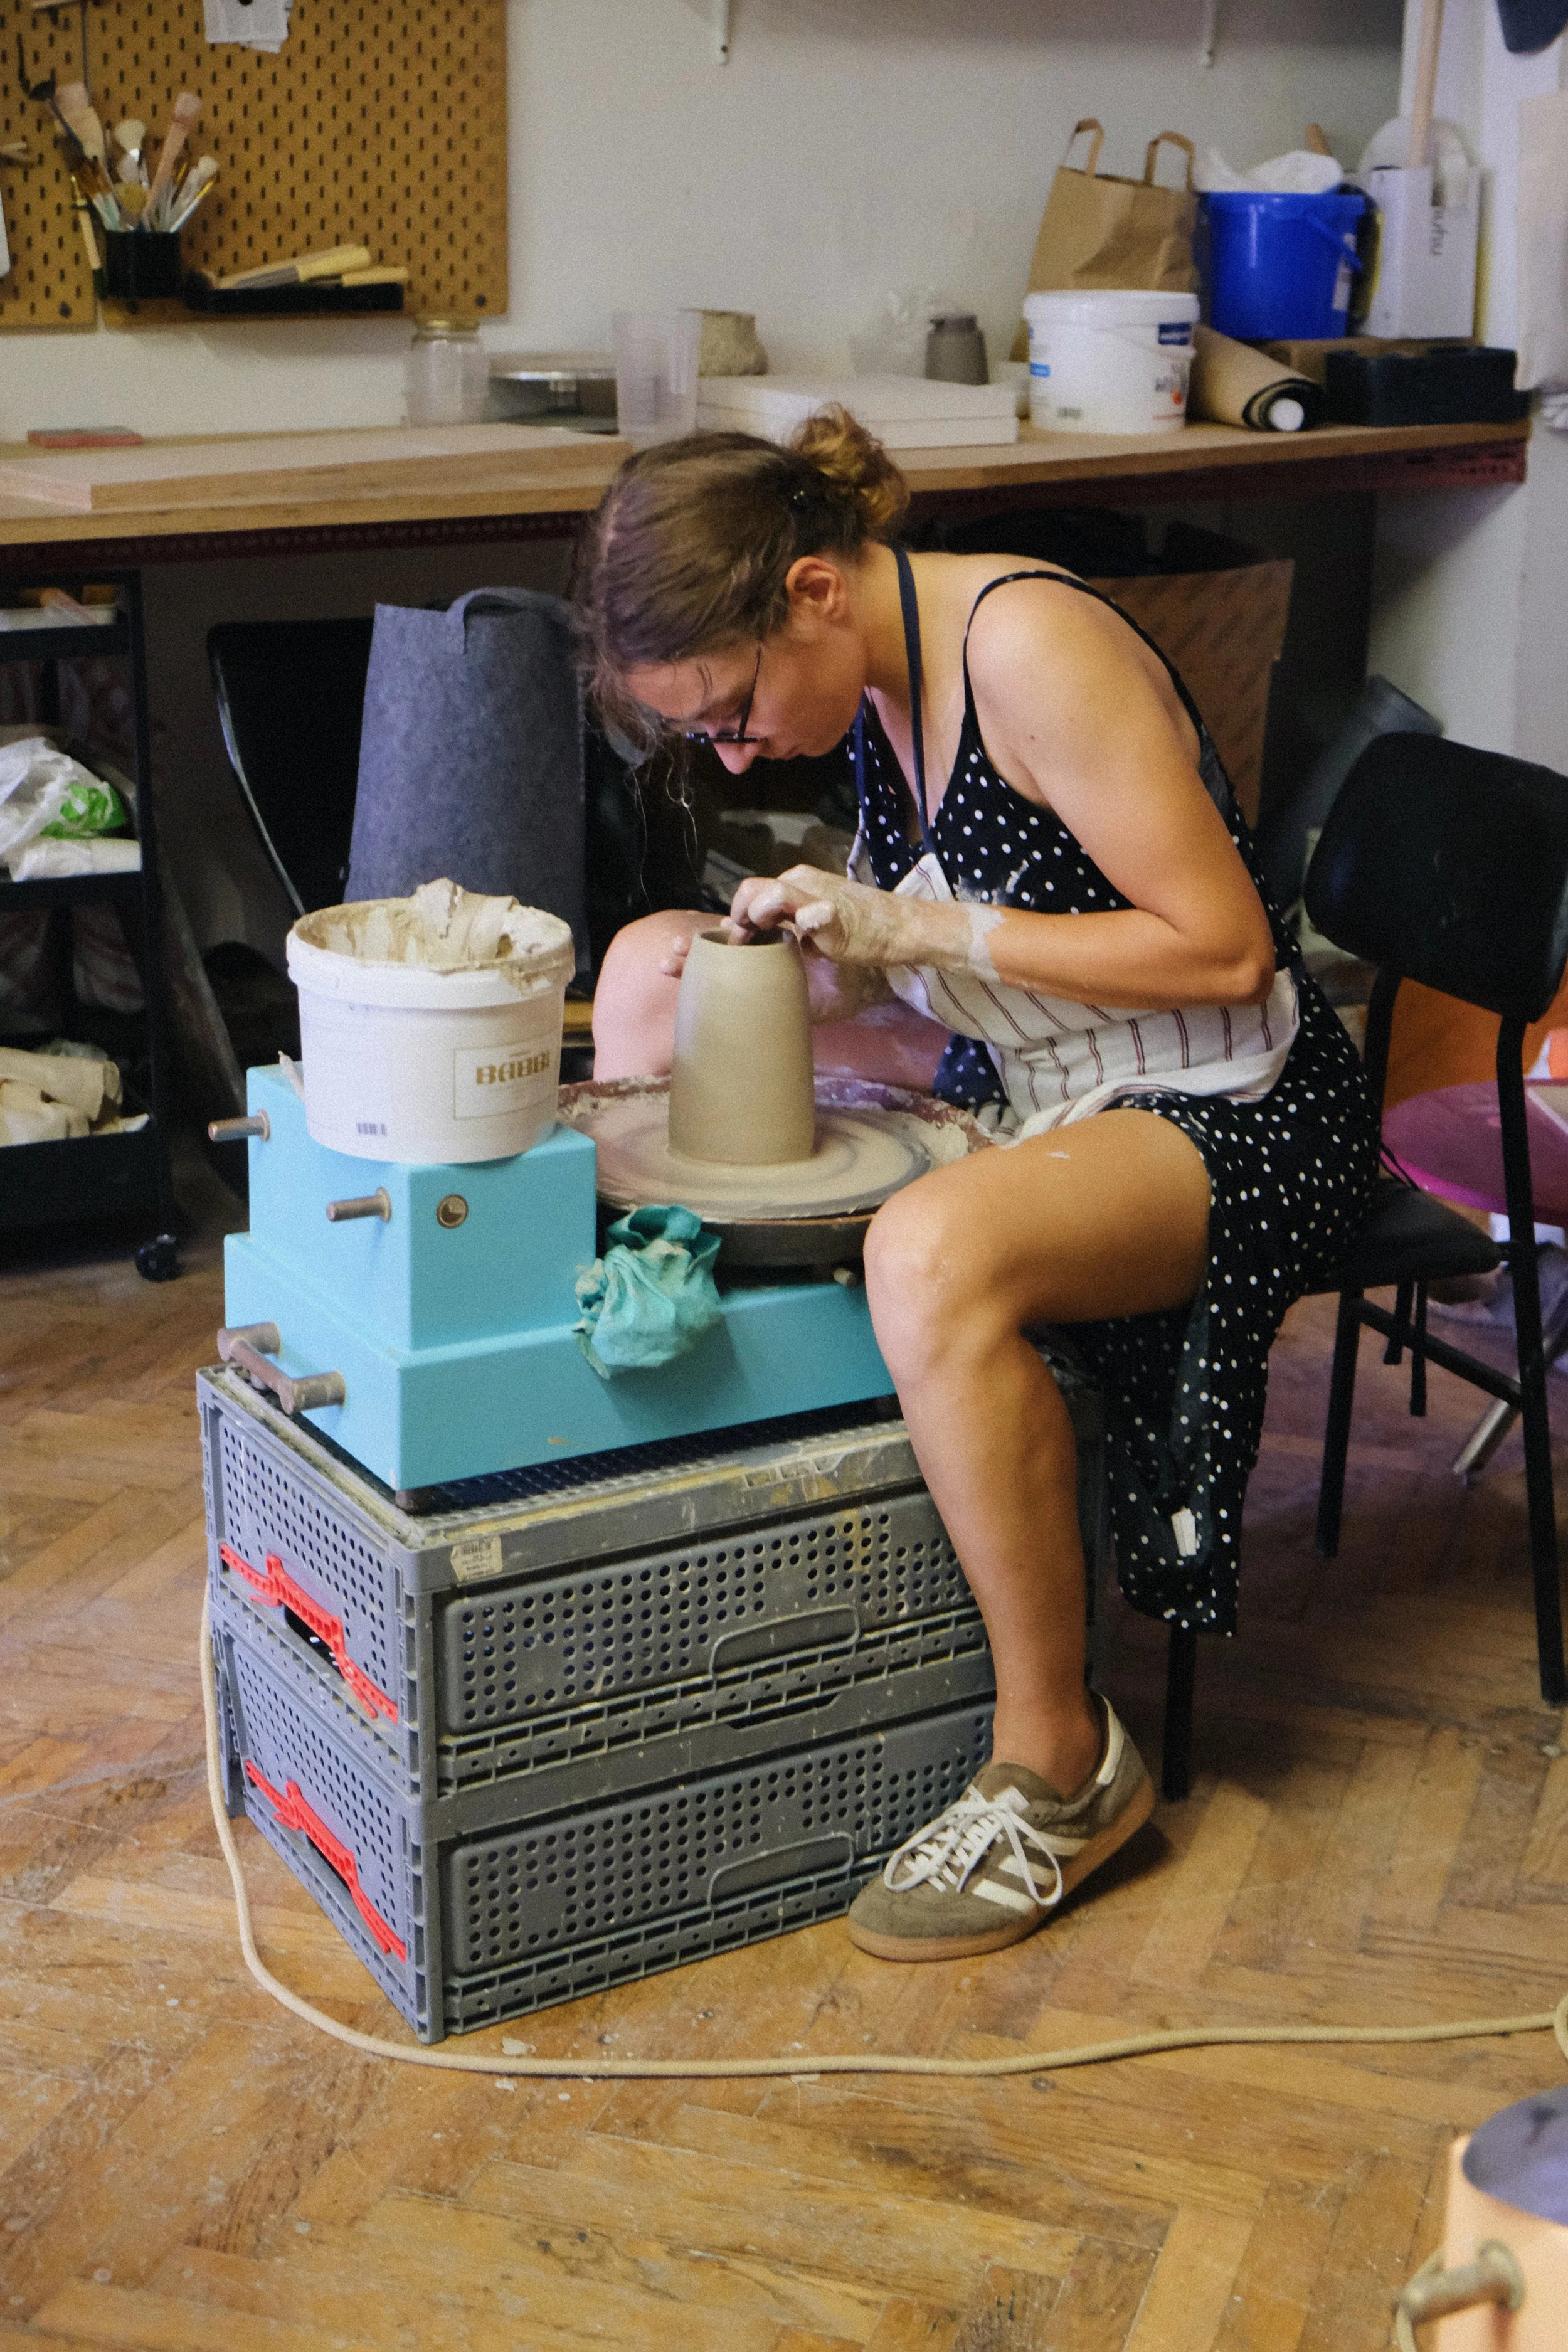
We started with the basics of wheel throwing – from preparing the clay to centering, opening, pulling the walls and shaping. We quickly learned that in pottery, many things look simple until you try them yourself.
00 / PREPARING THE CLAY
Before throwing, the clay is wedged to remove air bubbles and align its particles. We used two basic techniques: ram’s head and spiral wedging.
01 / POSITION
Sitting close to the wheel, we brace our elbows against our body or legs. A stable position gives our hands more control.
02 / CENTERING
One of the most important steps. By applying steady pressure, we bring the clay to the centre of the wheel. Coning helps distribute and align the clay evenly.
03 / OPENING
We press into the centre to create the base of the vessel, making sure it is neither too thick nor too thin.
04 / PULLING
We gradually pull the clay upwards to create the walls. With each pull, they become taller and thinner.
05 / SHAPING
This is where the object starts to take form. We experiment with convex and concave shapes, proportions and contrasts.
06 / FINISHING
We remove excess water, refine the rim and cut the piece from the wheel. The form needs to be stable enough to survive the move from wheel to board.
LESSON 2 :
FROM TRIMING TO SHAPING
Once the vessel is thrown, it is still far from finished. Trimming helps define its final weight, proportions and character.
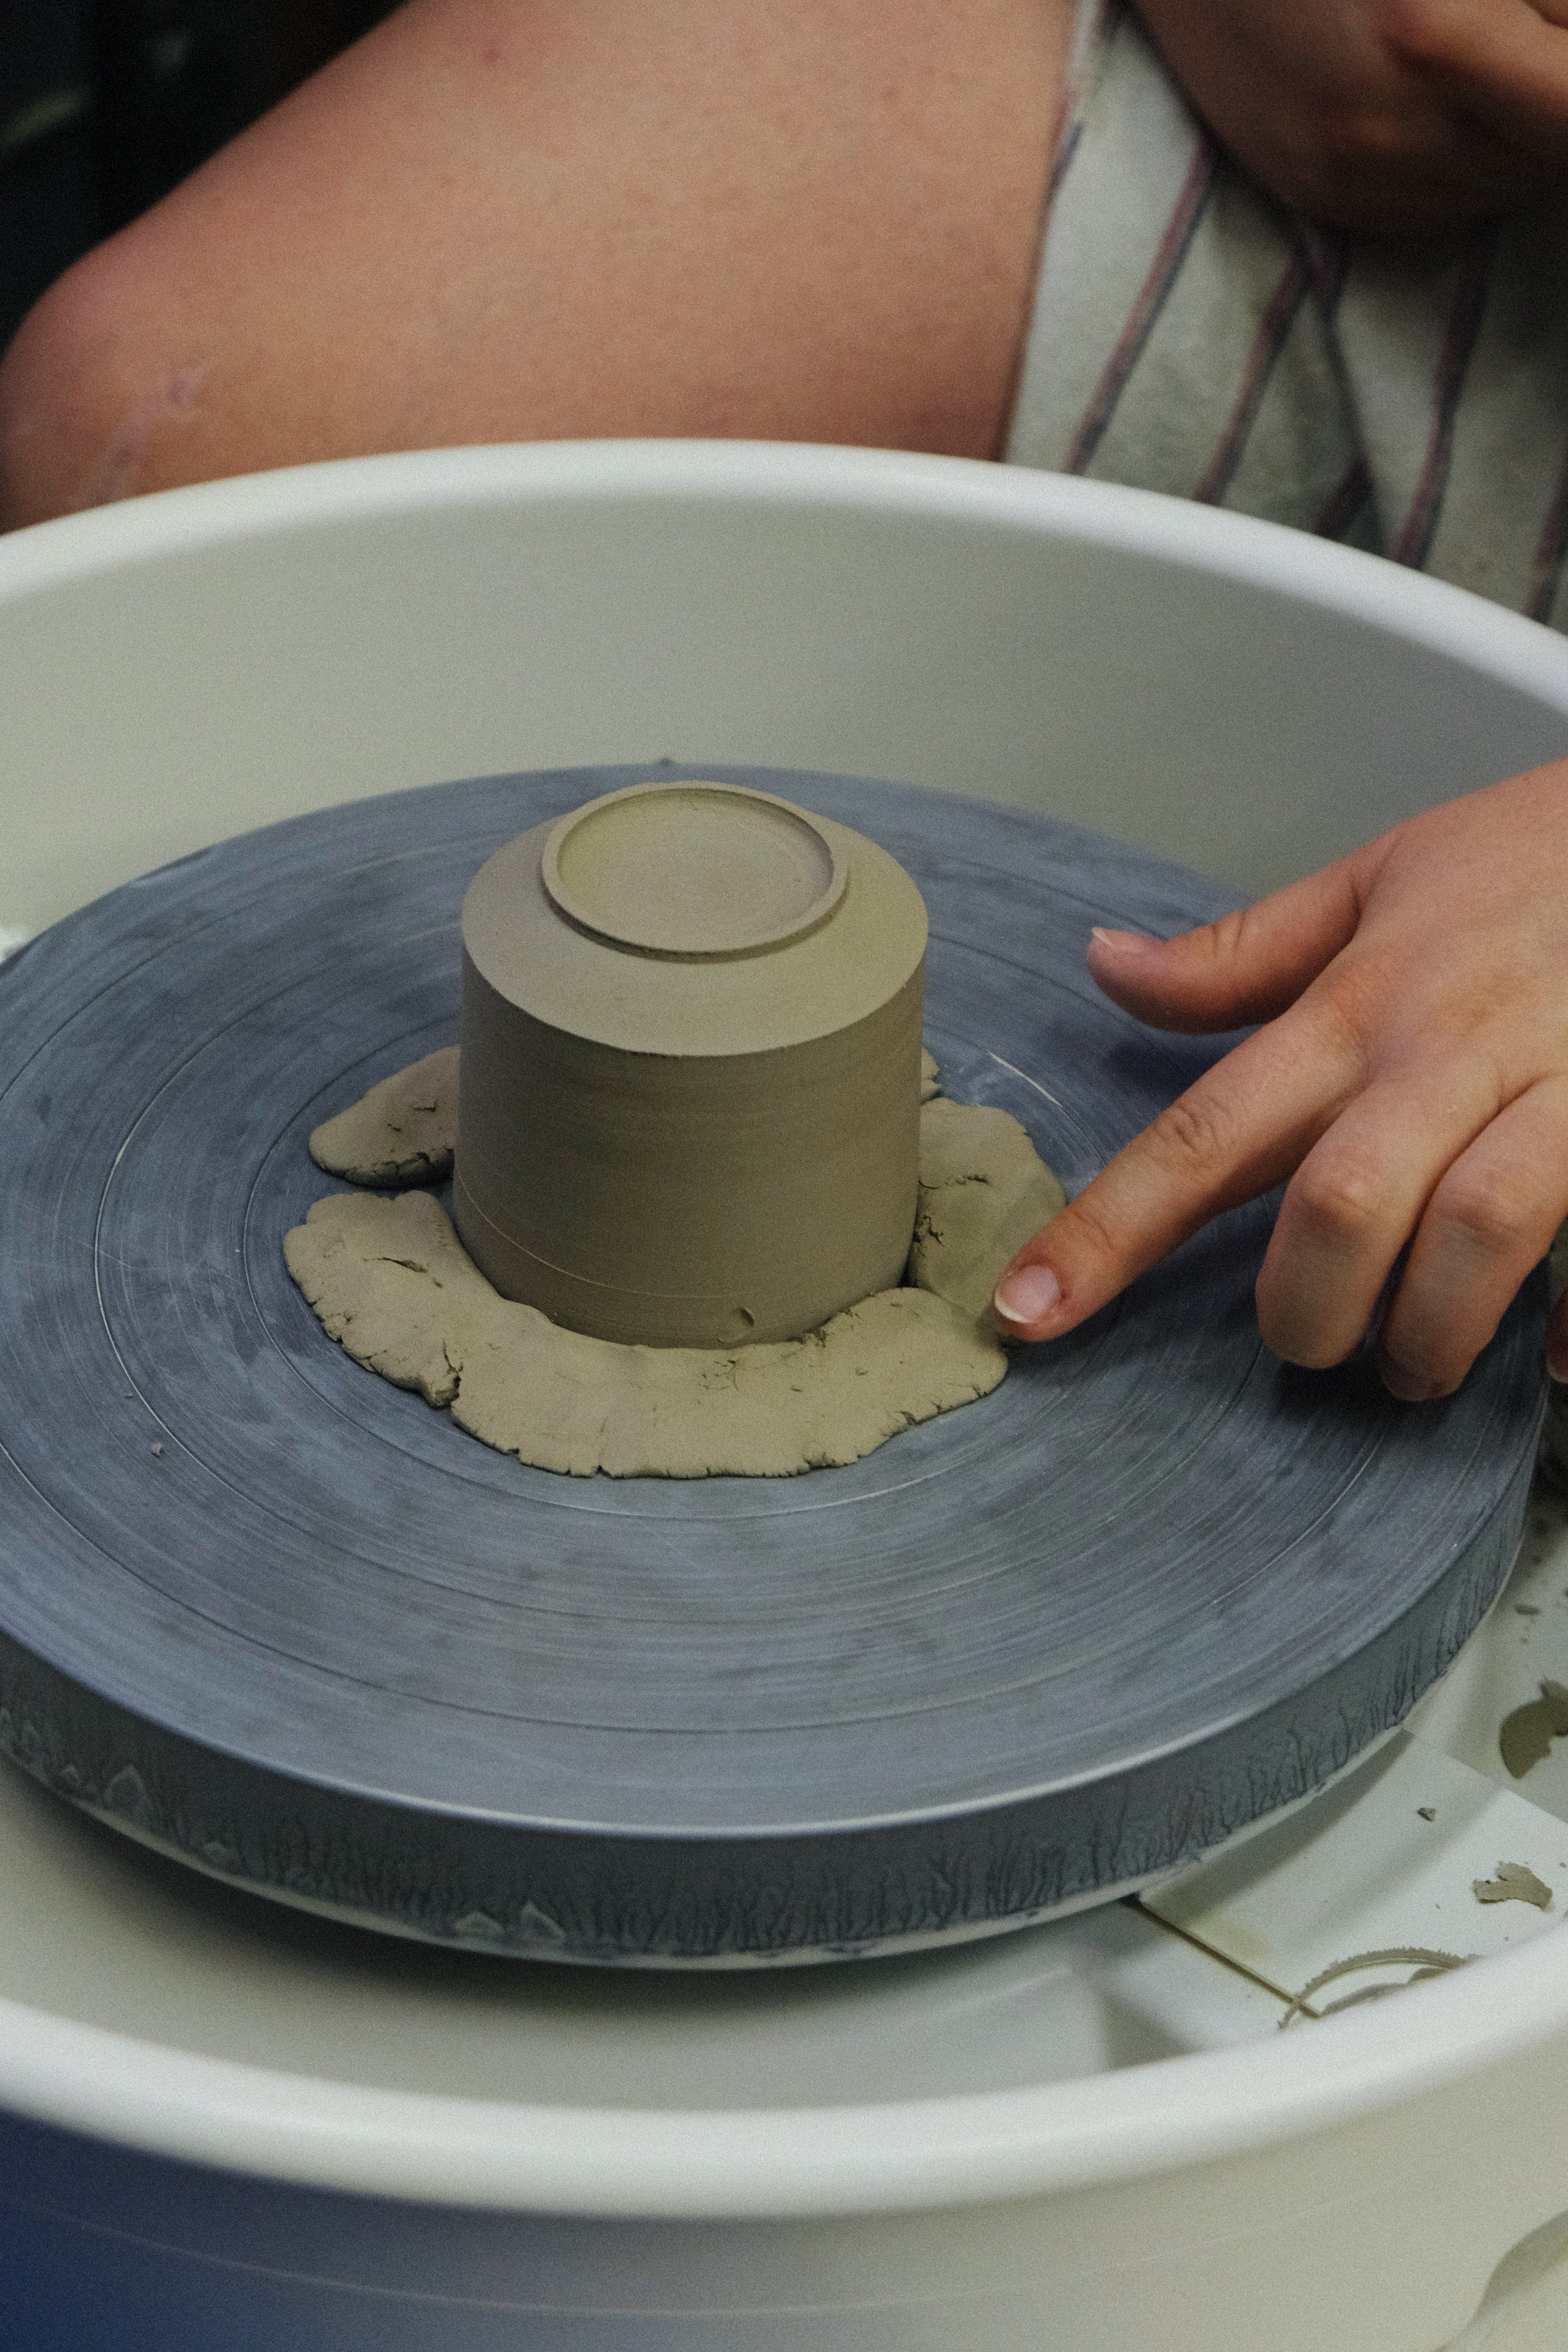
01 / TRIMMING
When the clay reaches the leather-hard stage, we centre the piece on the wheel and remove excess clay from the bottom, shaping the foot with trimming tools.
02 / THE FOOT
The foot can completely change the character of a piece. A raised foot can make it feel lighter, while a fuller one gives it a more grounded feel. This is also where there is plenty of room for creative freedom..
03 / HANDLES
Handles can be added at this stage, either by pulling clay or shaping them from a rolled slab. Once finished, the pieces are left to dry slowly and evenly.
04 / LIDS
Making a lid is all about precision. We create a small inner ledge, or gallery, for the lid to rest on. Because clay shrinks as it dries, the fit needs to be carefully measured and adjusted throughout the process.
From this point on, the vessel and its lid are a set — they dry and are fired together
LESSON 3:
GLAZING AND FIRING
Clay is fired twice: first in a bisque firing, then in a glaze firing.
01 / BISQUE FIRING
Before the first firing, the piece must be completely dry. It is carefully loaded into the kiln and fired at around 960–980 °C.
Why bisque fire? The first firing turns the clay into ceramic while keeping it porous enough to absorb glaze.
Bisque = the first time clay truly becomes ceramic.
02 / GLAZE
Glaze creates a glass-like protective layer on the surface. It reduces porosity, increases durability and determines the final appearance — colour, texture, gloss or matte finish.
Glaze = protection + decoration.
03 / GLAZING
The bisque-fired piece is cleaned of dust, then the glaze is applied by dipping, pouring, brushing or spraying. Excess glaze is removed from the bottom so it doesn’t fuse to the kiln shelf. Once dry, the piece is fired again at the appropriate temperature.
There are different types of clay bodies. Stoneware is fired at high temperatures, typically 1200 °C and above, while earthenware is generally fired at lower temperatures, around 980–1150 °C.
THE WHOLE PROCESS
CLAY → WEDGING → WHEEL → TRIMMING → DRYING → BISQUE FIRING → GLAZING → GLAZE FIRING → FINISHED PIECE
LESSON 4 :
CONTEMPORARY PORCELAIN
Porcelain is a very fine ceramic material made primarily from kaolin, quartz and feldspar. Once fired, it is typically light-coloured, dense and can be slightly translucent.
Its fine texture allows for precise shaping, but it also demands more patience and control. When working with porcelain, we need to pay particular attention to wall thickness, the amount of water, drying and handling. Because porcelain shrinks significantly during drying and firing, even small differences in thickness can lead to warping or cracking.
01 / FIELD TRIP — JUHA STUDIO
As part of the lesson, we visited Studio Juha, where Miha Perne introduced us to his work and creative process. Seeing a professional studio gave us a glimpse into how ceramics can become part of a broader design and artistic practice.
02 / CONTEMPORARY PORCELAIN
We also took part in a hands-on porcelain workshop led by Lena Milićević, an MA in Ceramic Design working in the field of contemporary ceramics.
Through practical exercises, we explored the specific qualities of porcelain and how they can inform the design process — experimenting both with hand-building and wheel throwing.
LESSON 5 :
PREKMURJE AND SLOVENIAN POTTERY TRADITION
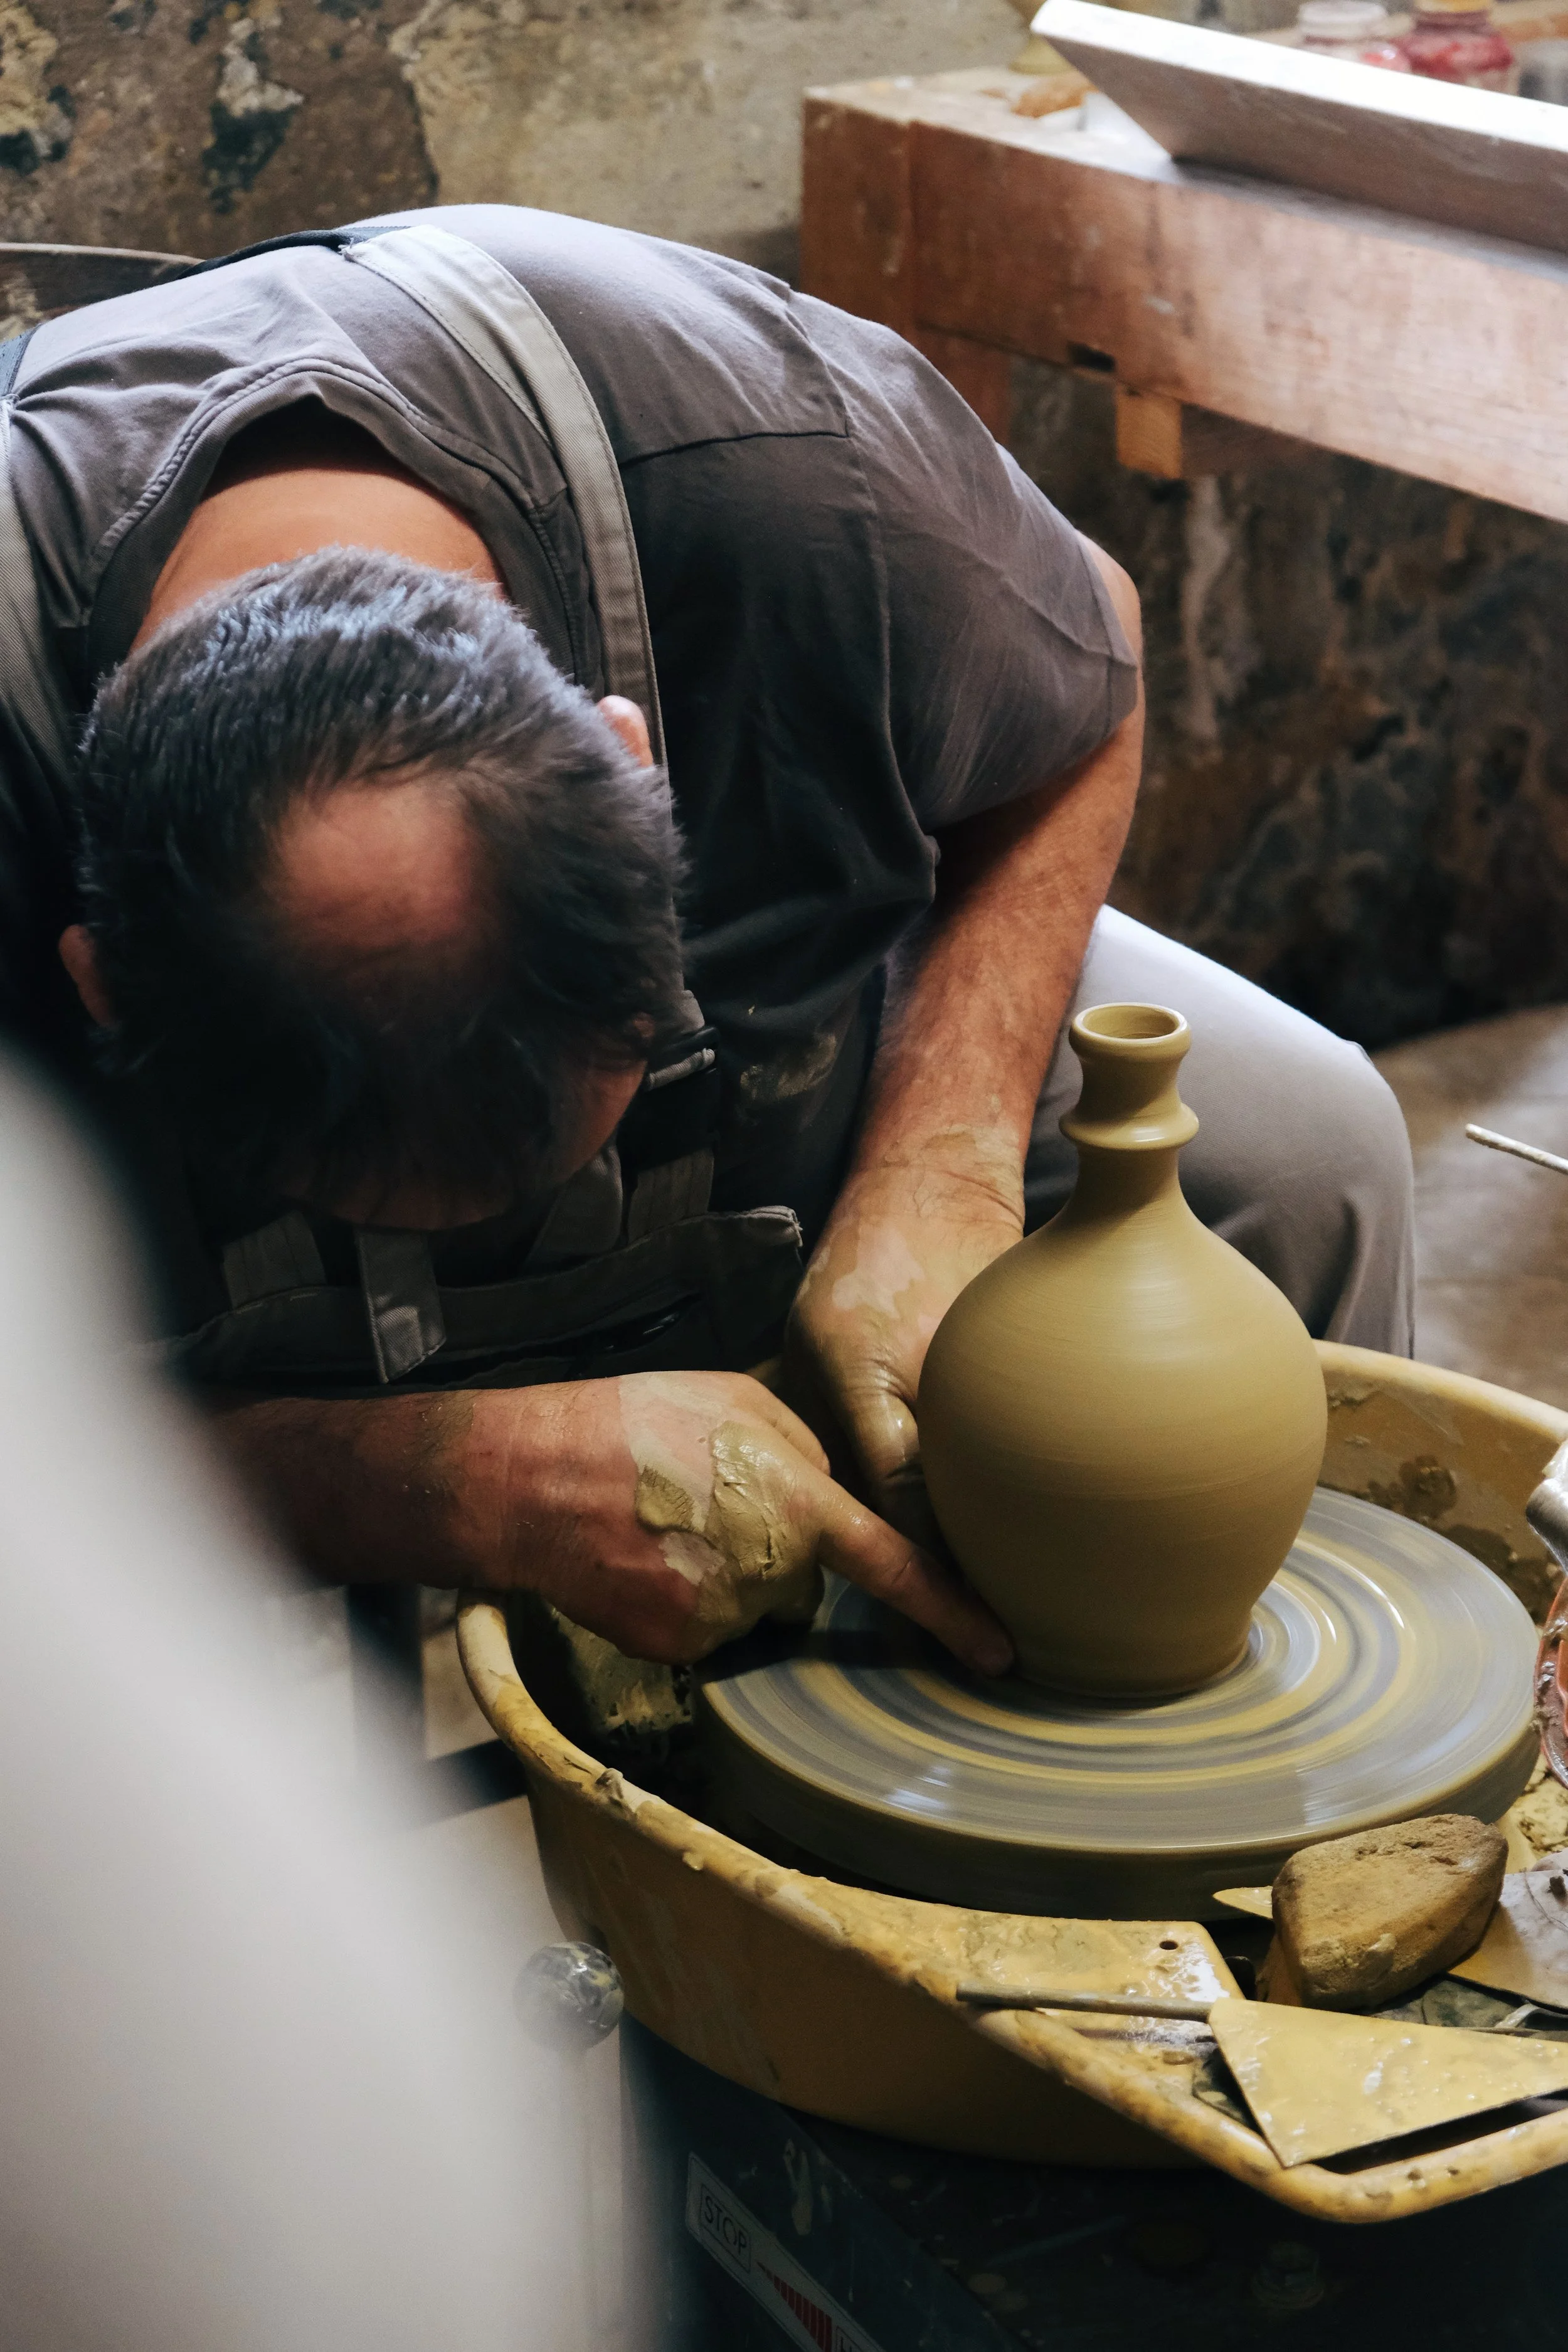
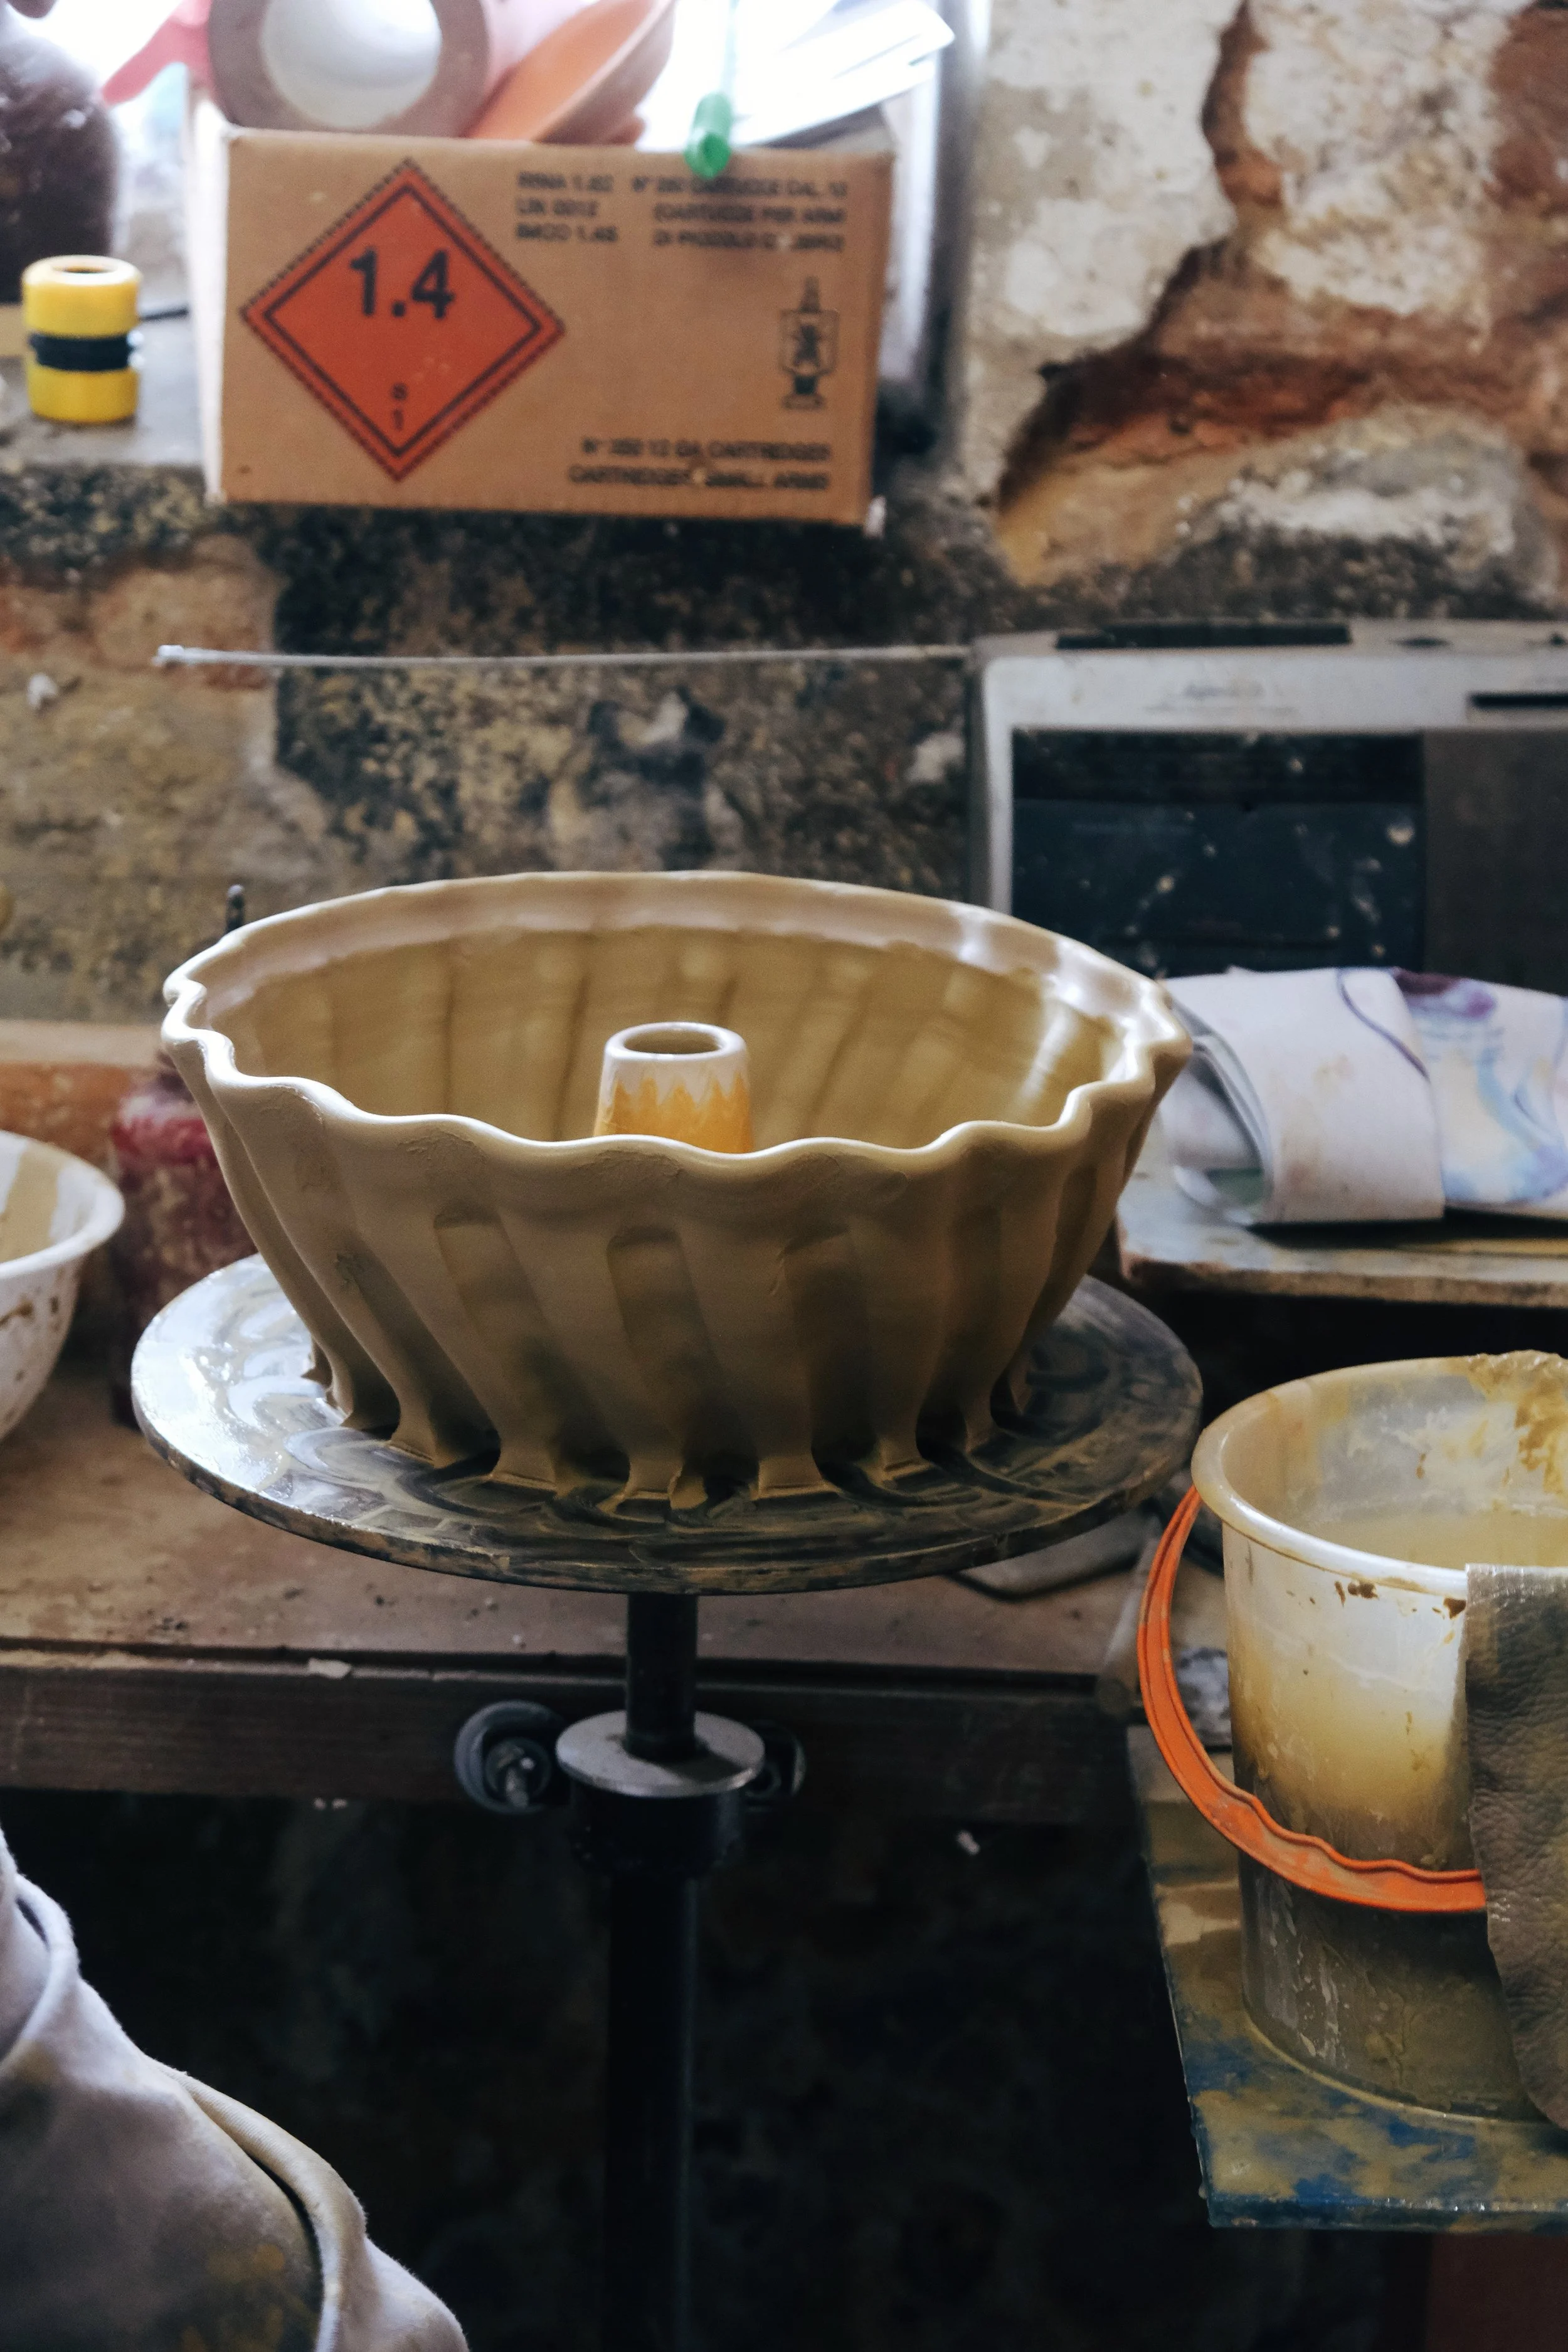
Prekmurje is home to one of Slovenia’s most distinctive pottery traditions. The knowledge of shaping clay has been passed down through generations, closely connected to the local environment, materials and way of life.
Traditional pottery is now part of Slovenia’s intangible cultural heritage. Its value lies not only in the finished objects, but also in the knowledge, techniques and stories they carry forward.
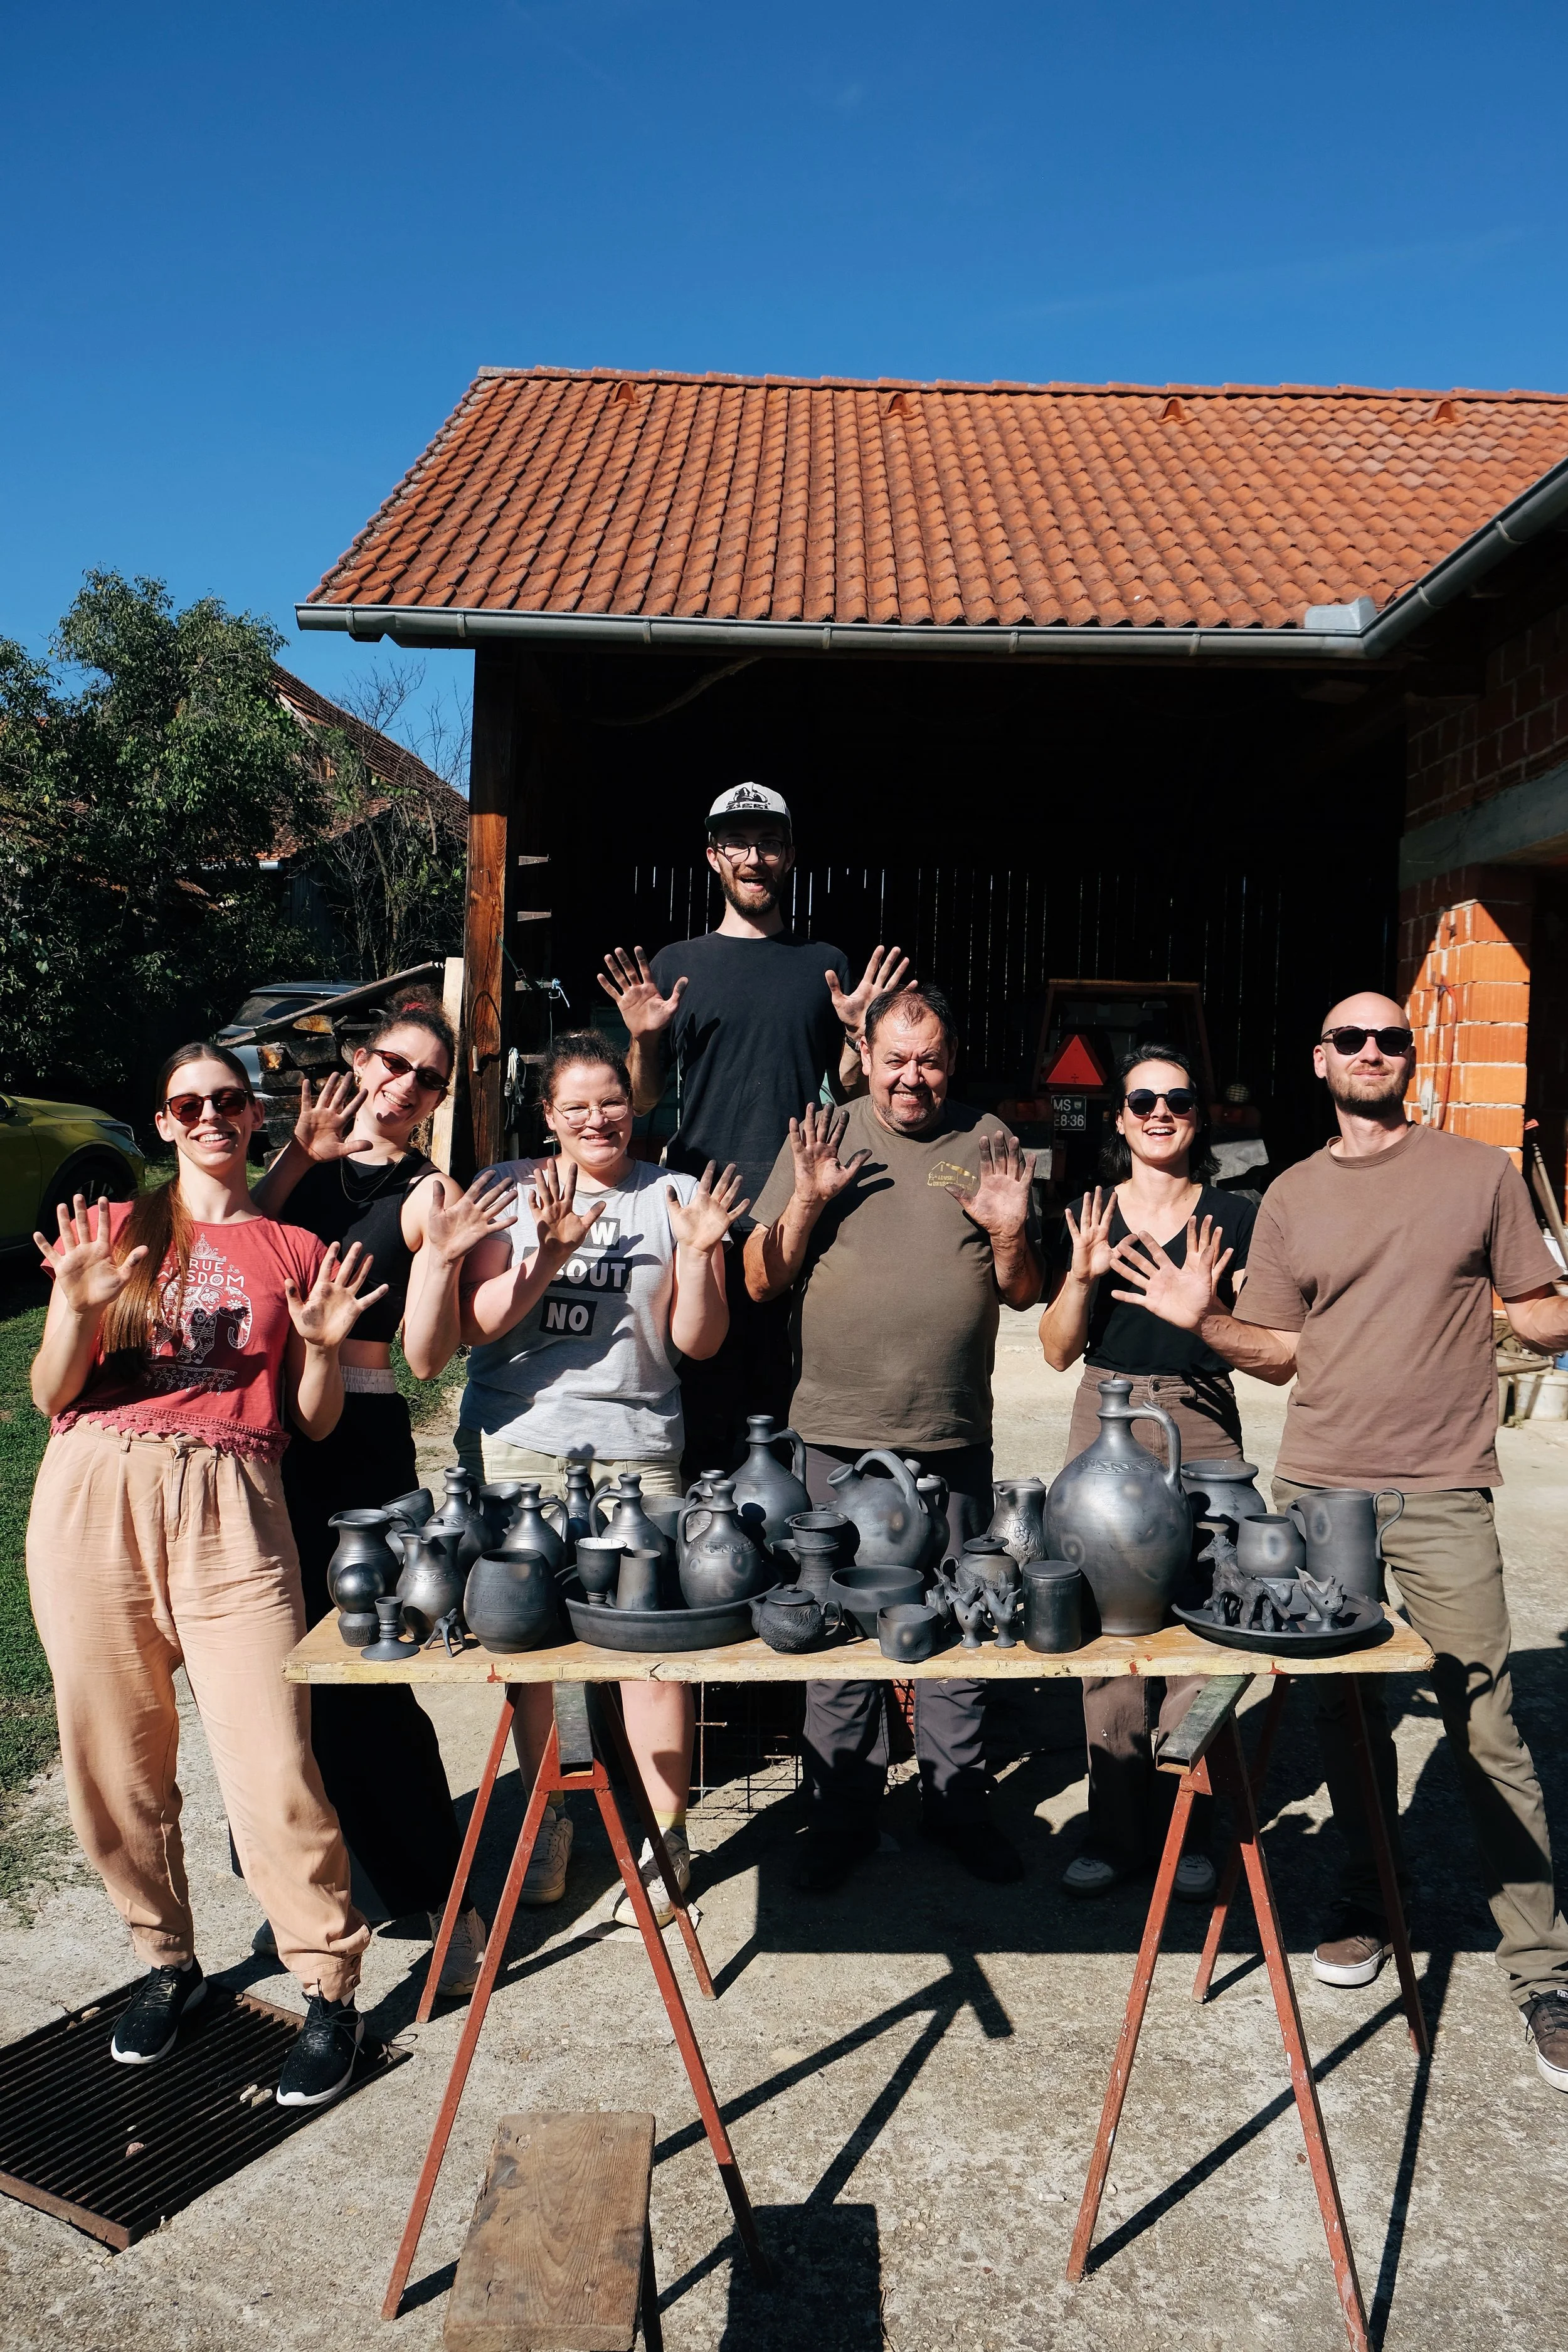
For the final part of Mala Šola Gline, we spent two days in Puconci, immersing ourselves in traditional pottery and black firing.
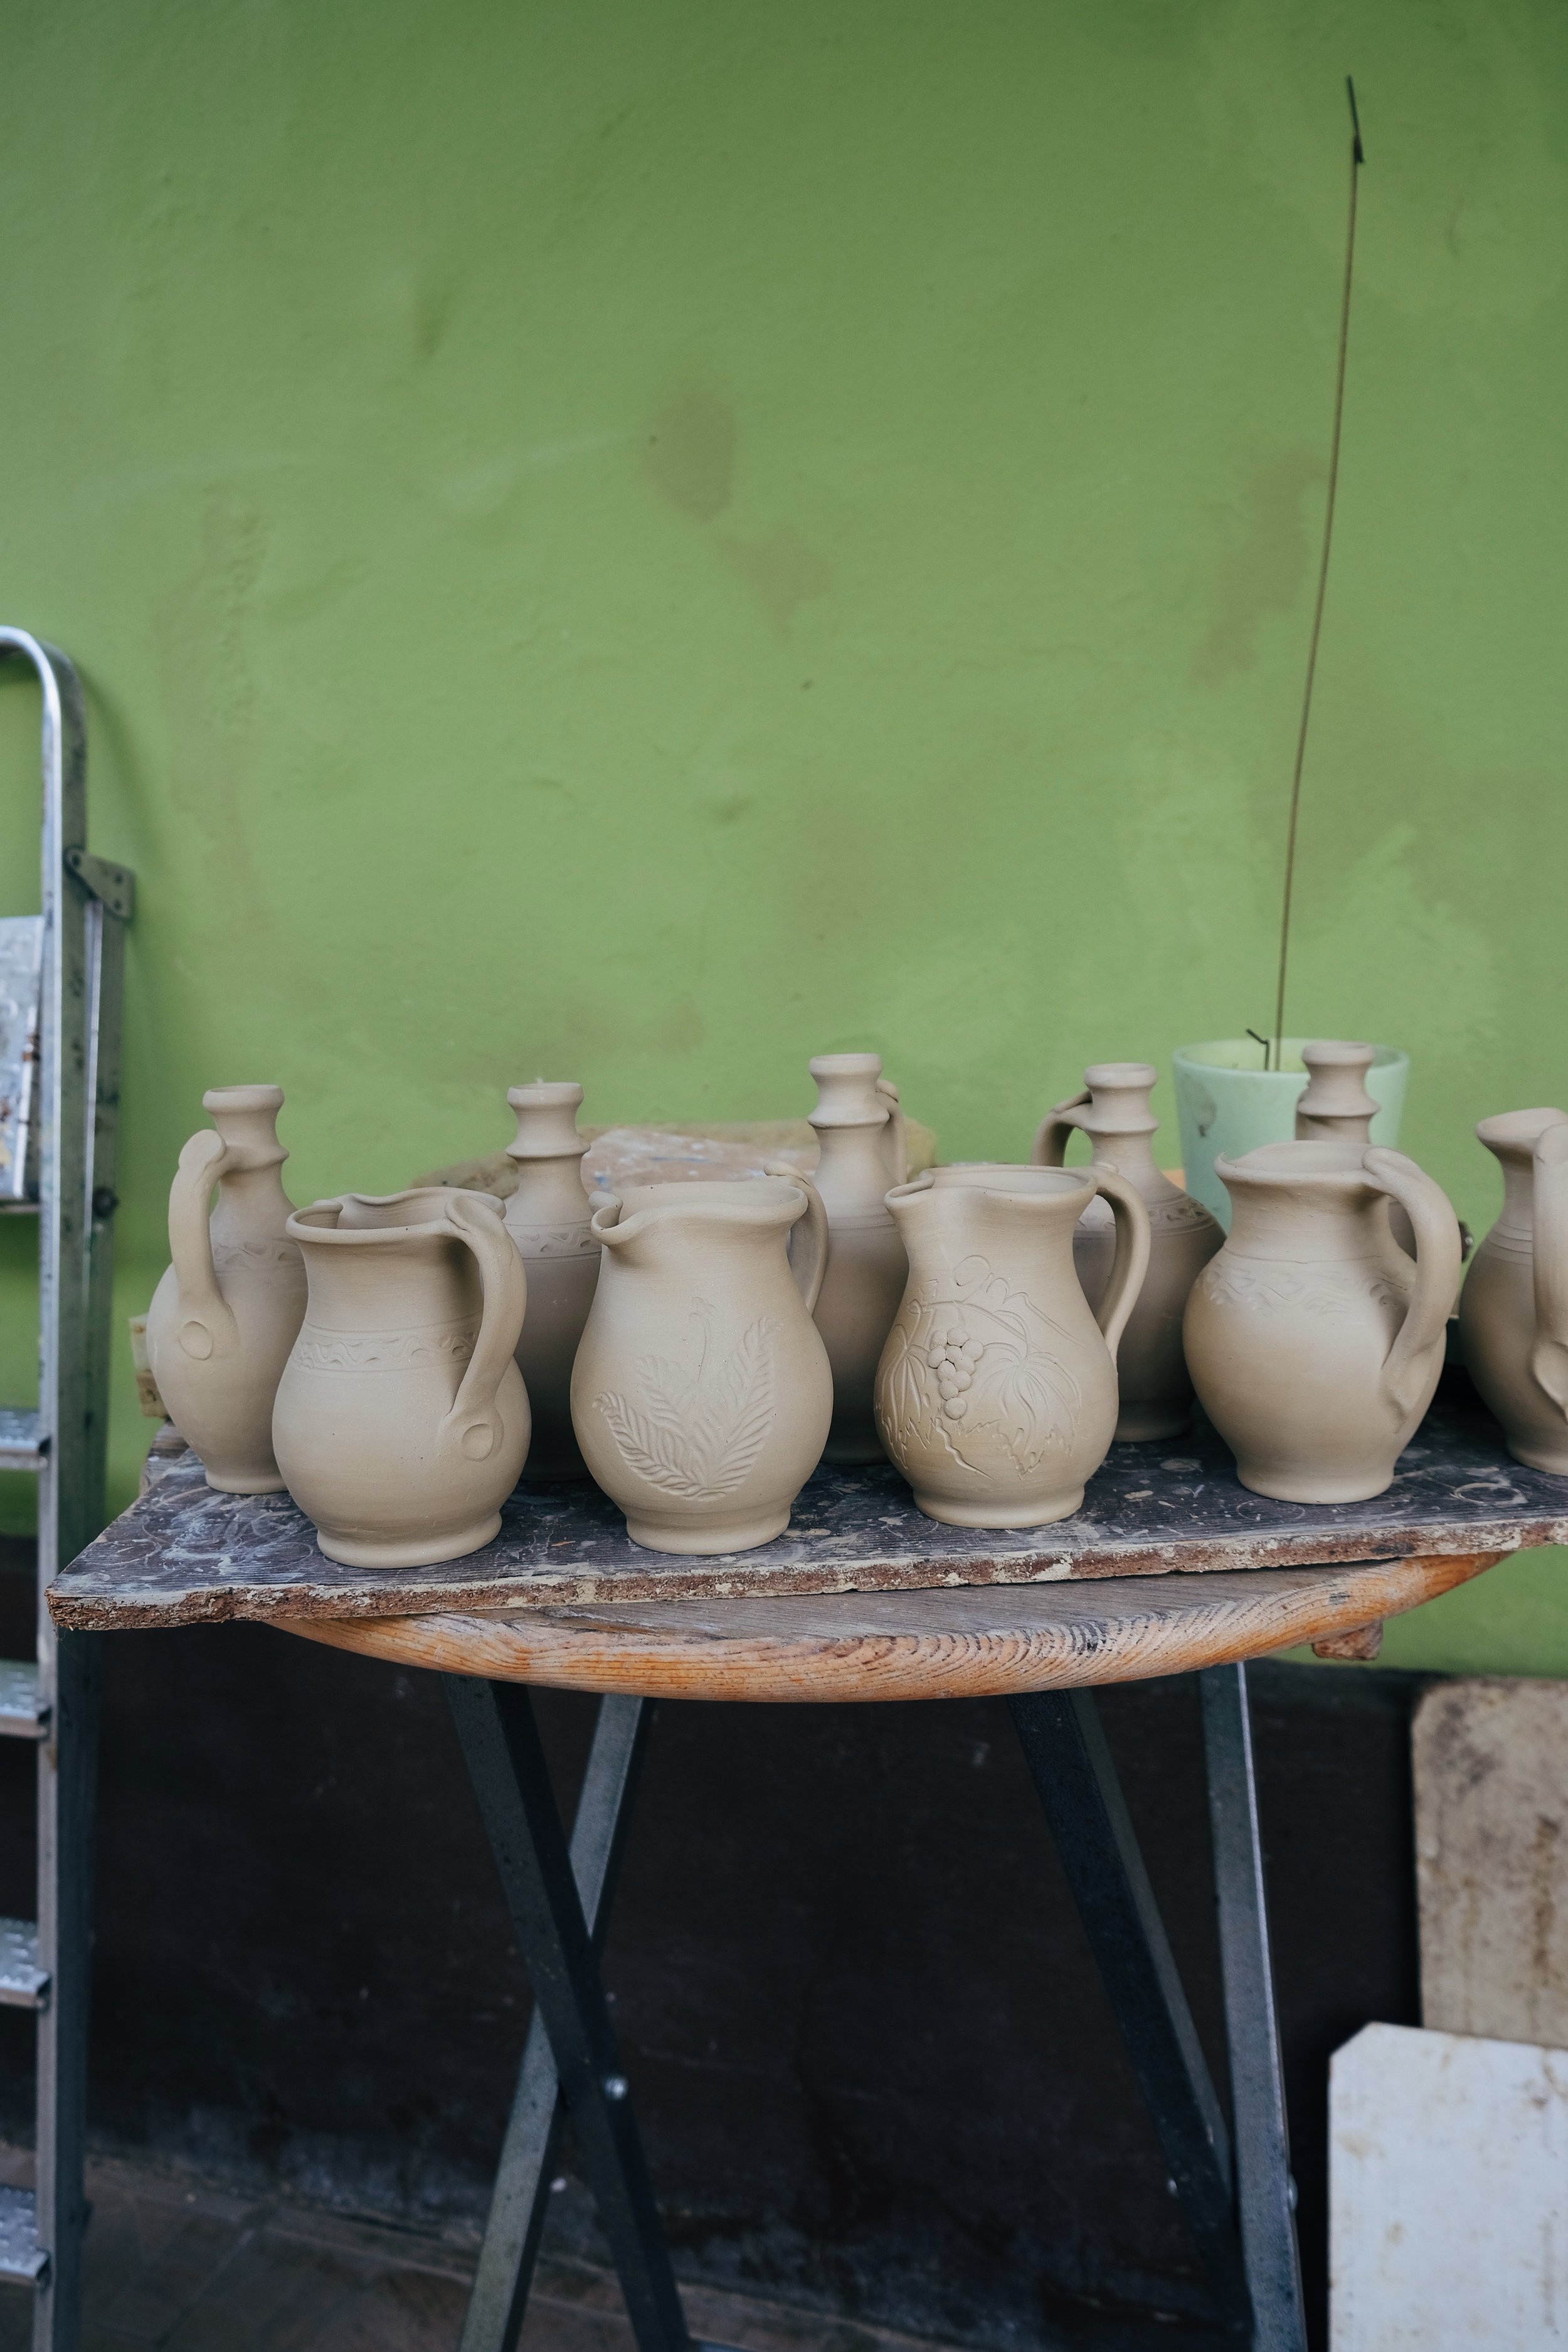
At the workshop of master potter Štefan Zelko, we explored traditional Goričko forms, including pütre and potičnice, and tried our hand at the traditional kick wheel. We also made bird-shaped clay whistles.
ŠTEFAN ZELKO
Štefan Zelko is one of the few master potters who still knows how to build a traditional updraft kiln for black firing.
Because large kilns are demanding to load and fire, he has also developed a smaller, mobile kiln that allows black firing on a smaller scale.
BLACK FIRING
In the afternoon, we prepared the kiln for a black firing. We loaded our pieces, gradually heated the kiln to around 1000 °C, then closed the air supply and left the reduction atmosphere to do its work overnight.
Black pottery is created in a traditional kiln by limiting the supply of oxygen during firing. Before firing, the dried pieces are polished and carefully stacked inside the kiln.
Once the kiln reaches its peak temperature, it is quickly sealed. As the fire consumes the remaining oxygen, the reduction atmosphere changes the chemical process taking place inside the kiln, giving the clay its characteristic dark, almost black colour.
Once the firing is done, the hardest part begins:
waiting for morning — and opening the kiln.
LESSON 6:
MORE THAN JUST TECHNIQUE
Mala Šola Gline was about more than learning how to throw on the wheel. Through different materials, techniques, mentors and practices, we explored how traditional pottery knowledge can become a starting point for developing contemporary craft objects of our own.
At the same time, we wanted to make clay accessible to complete beginners — giving participants a solid foundation and the confidence to continue exploring on their own.
WE EXPLORED
HANDS
Learning through repetition, practice and getting a feel for the material.
MATERIAL
Understanding different types of clay and porcelain.
FORM
From basic cylinders to closed forms and fitted lids.
TRADITION
Discovering local pottery traditions and black firing.
OUR OWN VOICE
Looking for forms that are not only correct, but truly ours.
FROM LEARNING TO MAKING.
Mala Šola Gline gave us the tools, techniques and knowledge to start working with clay more independently — from the basics of the wheel to traditional firing and contemporary approaches to form.
What comes next is up to each of us: keep practising, keep experimenting, and turn what we have learned into something of our own.